allergy friendly,

Buffalo Chicken Bites

December 29, 2018 S Malik 6 Comments

Allergy Friendly Homemade Buffalo Chicken Bites

You have heard of the popular chicken wings called Buffalo Wings. They originate from a small restaurant in Buffalo, New York, thus the name. They were invented accidentally by the chef of the restaurant.

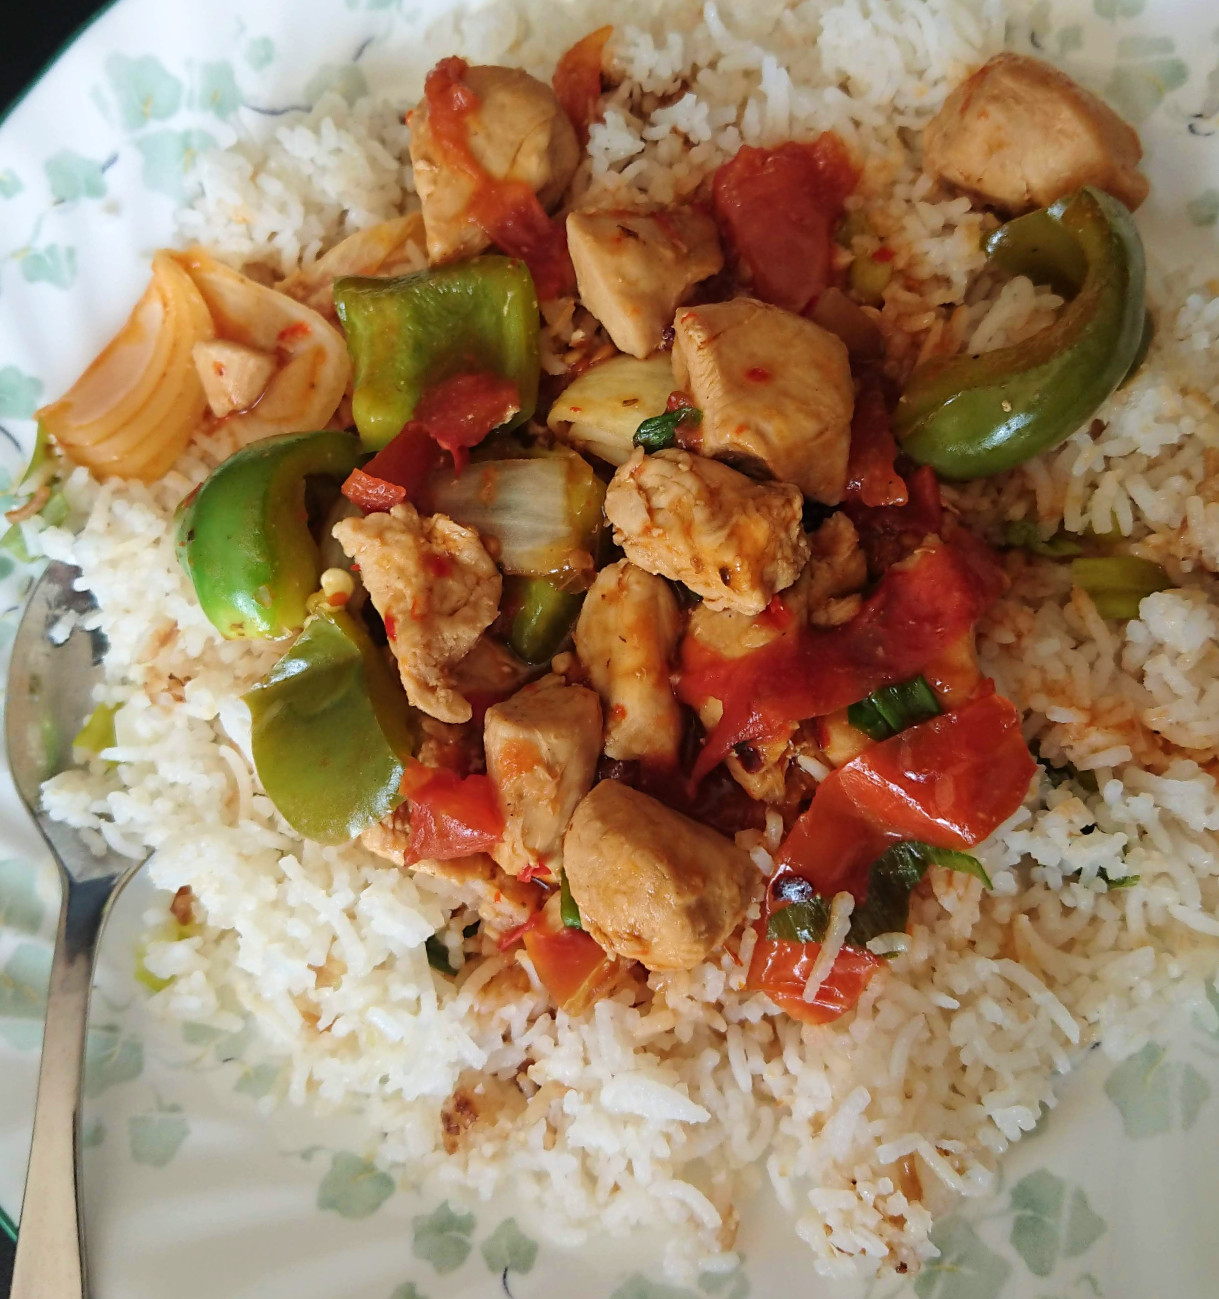
I have used it as a basis for my homemade, allergy friendly, dairy free & gluten free Buffalo Chicken Bites recipe. It is a very easy and tasty dish to make. This is one of my children's favorite appetizers that they often eat as their main meal.


In this recipe I have changed things up a bit to make it allergy friendly for us


  • Instead of the wings I used boneless and skinless chicken cubes.
  • Coated the chicken with gluten free flour to give some crunch.
  • The sauce was made from scratch for coating the chicken.
  • Instead of using the Frank's hot sauce as in the original recipe I have used Piri Piri sauce as the hot sauce contains vinegar which is a no go for us.

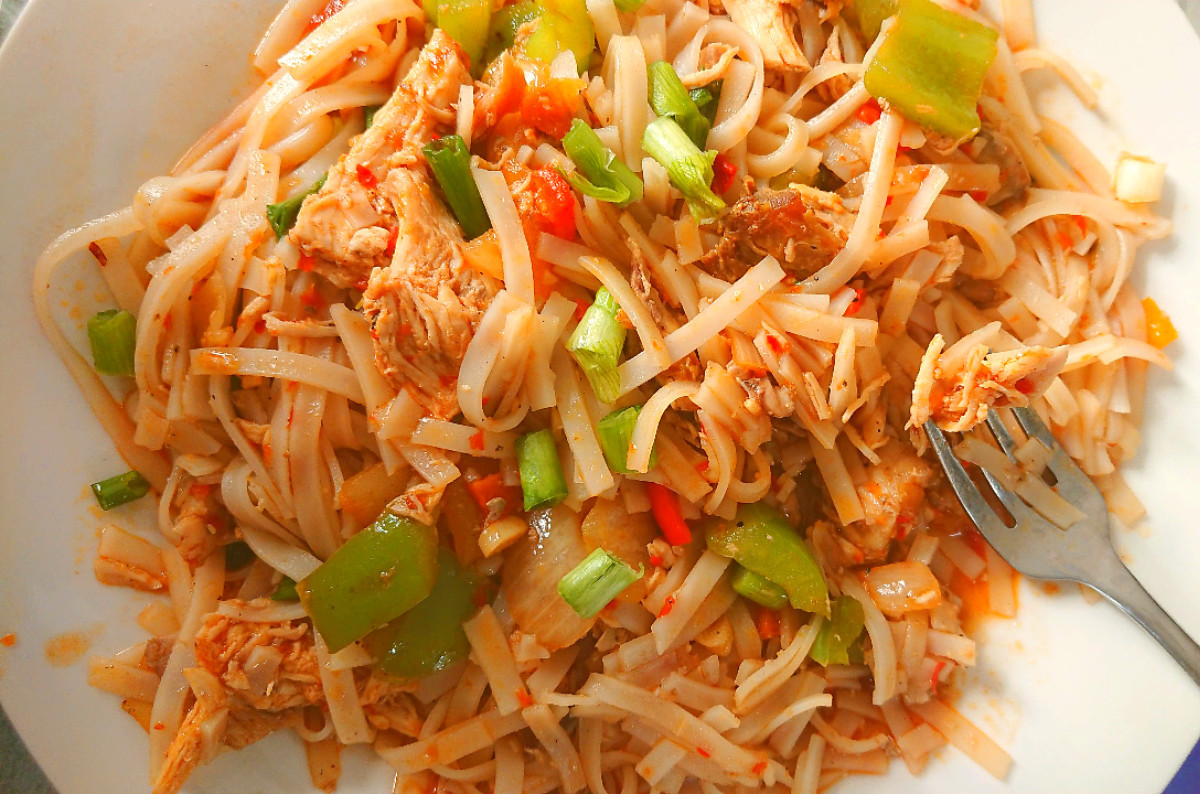
Marinate the chicken at least for 30 minutes, for the chicken to absorb the flavors. For the sauce I use the pasta sauce I have at home. Serve on their own or with fries. Can also be enjoyed with my homemade wedges and a salad.


  • 1 hr. 30 mins
  • Serves 4
  • Easy

Ingredients

Adjust Servings:
Marination
1 lb boneless chicken
1 cups gluten free flour
1 teaspoon baking powder
1/2 teaspoon Himalayan pink salt
1 teaspoon paprika
oil, for frying
Sauce
2 tablespoons coconut oil
2 tablespoons peri peri sauce
1/2 teaspoon black pepper
1 teaspoon garlic powder
4 tablespoon tomato paste or pasta sauce
1 tablespoon brown sugar

Back-to-School Packed Lunch Ideas Download Now

Gluten & Dairy Free Buffalo Chicken Bites

Steps

1
Done
30 min
Marinate the chicken with all the ingredients given under marination, except oil. Leave it for 30 minutes
2
Done
30 min
Heat oil on medium high heat. Add the chicken pieces one by one. Fry till golden, and set aside.
3
Done
10 min
Now heat 2 tablespoon of coconut oil in a pan, add all the sauces and spices under the sauce heading and let it simmer.
4
Done
5 min
Add the chicken to the sauce, heat it through until sauce becomes thick. Serve and enjoy.


Pin for later

Pin for Allergy Friendly Buffalo Chicken Bites

6 Comments:

chocolate,

Chocolate Chip Cookies with Chickpea Flour

December 18, 2018 S Malik 0 Comments

Homemade Allergy Friendly - Egg Free, Dairy Free & Wheat Free Chocolate chip cookies

When you run out of ingredients, that is usually the time you get creative and use the items you already have at home. Then you end up either making something amazing or a total flop. That is exactly what happened when I was making these Chocolate Chip Cookies with Chickpea Flour. I ran out of gluten free flour, so the next best thing I could think up was chickpea flour. The best thing? My kids didn't notice the difference and ate them happily.

Some Fun Facts About Chickpeas


  • Chickpeas have a lot of different names such as Chana, Egyptian peas, Bengal gram, Garbanzo beans.
  • They come in a variety of different colors such as black, green, red and brown.
  • Ground chickpeas are used as a caffeine-free substitute for coffee.


  • 40 mins
  • makes 32 cookies
  • Easy

Ingredients

Adjust Servings:
2 cups gluten free chick pea flour
1/2 cup brown sugar
1/2 cup granulated sugar
3/4 teaspoon Himalayan pink salt
1 tablespoon vanilla extract
1/2 cup coconut milk
3/4 cup coconut oil
1 teaspoon baking soda
1/2 cup water
1 cup dairy free chocolate chips

Nutritional information

1g
Protein
11g
Carbs
8g
Fat
13g
Sugars
6g
Sat Fat
126k
Calories

gluten free cookies on a baking tray

Steps

1
Done
2 min
Heat oven to 375 o F. Oil the baking sheet so the cookies do not stick or line it with parchment paper, set aside.
2
Done
10 min
add and mix all the cookie baking ingredients in a bowl
Add all the ingredients in a bowl and mix.
3
Done
10 min
add batter to baking tray
Drop about a tablespoon of the batter on the baking tray until all is transferred, leave an inch space between each.
4
Done
18 min
baked gluten free and dairy free chocolate chip cookies
Bake for 18 minutes. Take out of the oven and let it cool down and enjoy!

Cook Notes

  • Substitute chickpea flour with any gluten free flour you like.
  • Substitute any dairy free milk for coconut milk.
  • Use dairy free butter or vegetable oil if coconut oil cannot be consumed.


Pin for later

pinning image for Chocolate Chip Cookies with Chickpea Flour Pin

0 Comments:

brownies,

Allergy Friendly Bundt Style Brownies

December 10, 2018 S Malik 2 Comments

Homemade Allergy Friendly - Egg Free, Dairy Free & Wheat Free Bundt Pan Brownies

I realized that I have not done any dessert recipes in a while, so here is a brownie recipe with a twist, that I recently baked. This recipe is very easy to make. It is dairy, egg, and gluten free. I was going to bake them in a usual baking pan but at the last minute had an idea and changed the pan to a Bundt pan, to give it an interesting twist. They can still be baked like usual.
  • 45 mins
  • Serves 6
  • Easy

Ingredients

Adjust Servings:

2 cups gluten free flour
3/4 cup brown sugar
1/2 cup honey
1 teaspoon Himalayan pink salt
2 teaspoon vanilla extract
3/4 cup cocoa powder
1/2 cup coconut oil
1/2 teaspoon baking powder
1 cup water
1/2 cup dairy free chocolate chips
Sliced Egg Free Brownies

Steps

1

Done
2 min
Oiled baking pan
Heat oven to 375 o F. Oil the baking pan so the cake does not stick or line it with parchment paper, set aside.
2

Done
10 min
  • add all the ingredients
  • mixing ingredients
Add all the ingredients to a mixing bowl except the chocolate chips and mix.
3

Done
5 min
  • adding chocolate chips
  • add batter to pan
If using Bundt pan to bake, then add the chocolate chips now. If using a normal baking pan, add the chocolate chips on top, after adding the batter.
4

Done
25 min
baked gluten free brownies
Bake for 25 minutes. Take out of the oven and let it cool down.
5

Done
5 min
baked egg free brownies
If Bundt pan is used: first go round the pan with a butter knife to seperate the cake. Then cover the pan with a plate and turn upside down. You will feel the cake fall on the plate. Cut and Enjoy!

Cook Notes

  • Use any gluten free flour you like.
  • Use 1 cup granulated sugar or your favorite sweetener instead of brown sugar and honey.
  • Use dairy free butter or vegetable oil if coconut oil cannot be consumed.
Pin Bundt Style Brownies

2 Comments:

affiliate,

Adding shop on your Facebook page

December 01, 2018 S Malik 0 Comments


This is not a sponsored post. I am just helping out fellow bloggers to set up shop.


This post is about linking your Amazon shop to your Facebook page. I will use Amazon shop as an example here but you can also link your Etsy or any other shop you have. It is very easy. You have three options on how to do it.

The three options are as follows:

  • Adding link to your Amazon shop in your about section
  • Adding the link to 'Your Story' section of your Facebook Page
  • Adding a 'Shop Now' call-to-action button on your Facebook Page

I will explain how to do each one in detail. Do note that the steps are to be followed on a desktop, mobile view might have different steps, which I will research later and update.

Linking your Amazon shop in the about section

three dots on facebook page

First go to your page. On the top of the page just below the cover photo you will see three dots. Click on the three dots.

edit page info

Now click on the 'Edit Page Info'.

add link to description

A pop up will appear. Here you can add the link to the description section. Also put an affiliate earning disclosure, just before or after the link. Save and you are done.


Linking your Amazon shop in the 'Your Story' section

Your Story on facebook page

Similar to the about section, there is also a section called 'Your Story'. It appears on the sidebar on the right. Here you can add a more personal touch to your page description. You can add a separate image, from your profile picture and cover picture. This can also be a good spot to add the link, so when your follower clicks on the story, it also shows your Amazon link. If you have not already added 'Your story' to your page, see instructions on how to add one.
Your Story section

Click on the story section itself, which will open up the story section.

edit your story on facebook page

Now click on the 'edit story' on the top right corner. Then add the link along with disclaimer.

your story image


Linking your Amazon shop with a call-to-action button


Usually there is a call-to-action button option right under your cover photo. I will recommend this option as it looks more elegant. If you have not already added a call to action, such as 'Message'(you receive messages in Messenger), 'Call' or 'Email', you will get the text '+ Add a button'. You can select that and then follow the steps below. If you have already added the button, then you just choose the 'Edit button' option and follow the steps below.
call to action button on facebook page

Hoover on the button will make an option menu show up. Select the 'Edit Button' or '+ Add a button' option.

add shop now on facebook page

A pop up will appear, giving you the different options to add. Select 'Shop Now' option.

shop now website link

In Step 2 you will choose 'Website Link'. Then add your link and save.

adding link to your story


Adding 'Your Story' Section to Facebook Page

For adding 'Your Story' section to your page, follow the first two steps from the Adding the link to About section. Once you have the edit page pop up, scroll all the way down and click on 'See All Information'.

adding your story

You will see the option to add your story, along with other page details. Add image, text and link to your shop.

styling your story

Hope this helps. I would recommend to add the shop now button but it doesn't hurt to get as much exposure to your link as you can. If you have a question or do not understand let me know in the comments.

0 Comments: